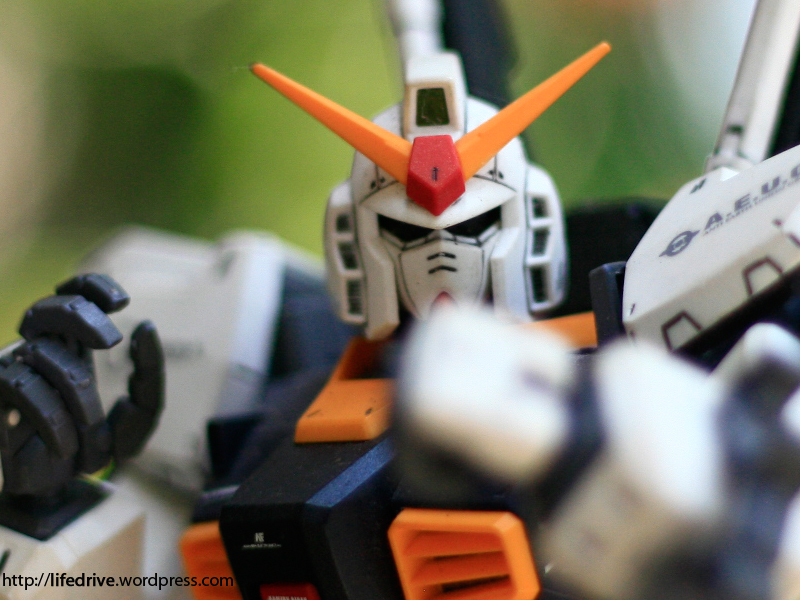
Showing you how the whole building process is plainly boring so instead, I will show you some bits that are interesting in this grade of the ever-famous (to old-school peeps) Gundam Mk-II from AEUG. 
First, they still included the hydraulics hose effect seen in MG and PG versions of the Gundam Mk-II and this makes the RG more interesting in terms of details because most of the RG units are like MG models shrunk to 1/144 scale. In fact, building this part was kind of difficult for me since I am not good at handling smaller parts but I managed to build it well.


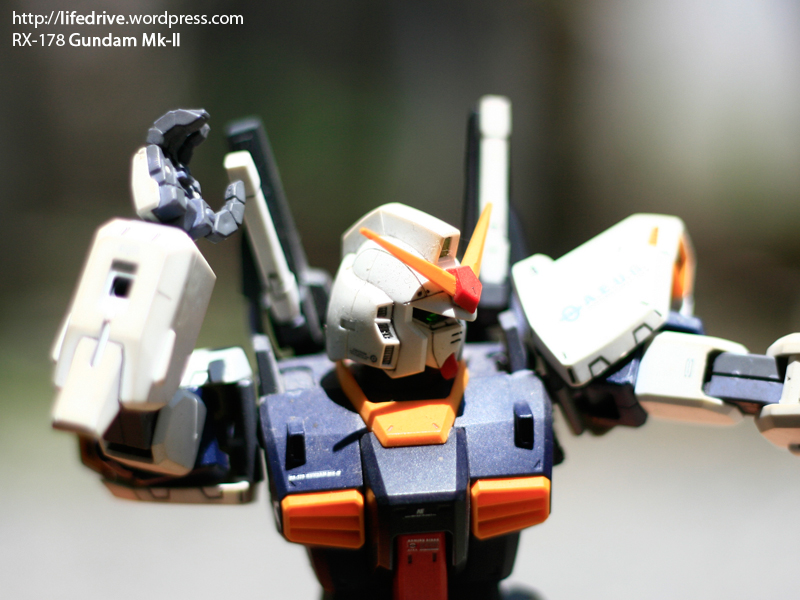
The whole model is really interesting except that it cannot do kneeling properly, despite having the new mechanism to do better leg articulations but that does not matter much, really, especially if you learn that this Gundam in the story is meant to be operated in space most of the time.


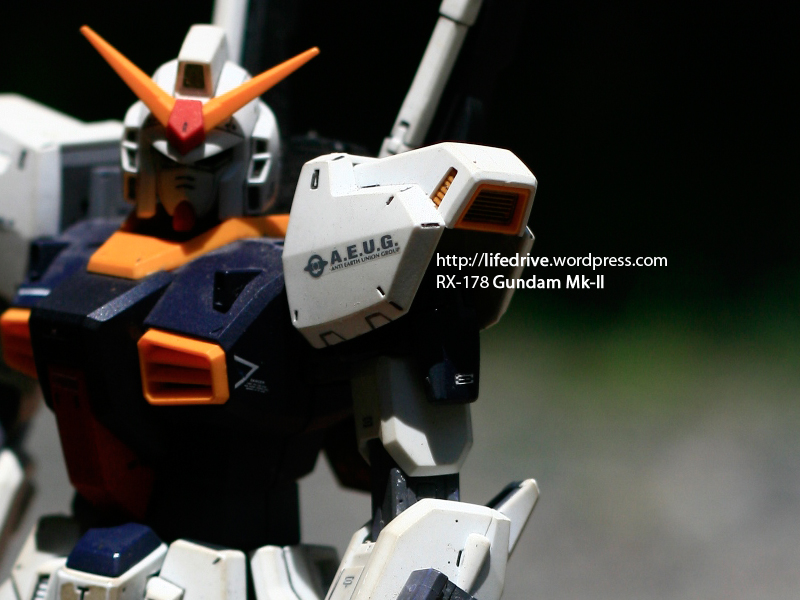
Other details include the amazing hydraulics on the feet, the hoses at the back of the legs as well as on the thrusters and the joints. Although the hydraulics on the feet does not have the MG and PG model’s silver plated parts to show a metallic effect, but it’s okay as this is quite small model and you hardly notice the feet’s internals.
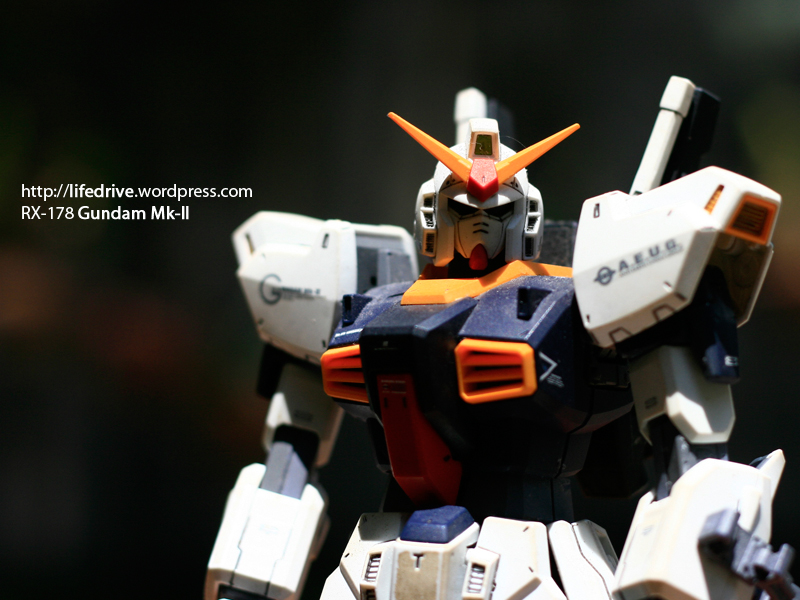
 Next would be some detailing I wanted to do to avoid using the shiny and glossy stickers. I will do this the first time: coating the unpainted model then put on the panel lines and stickers. I will update you soon on that part. Other than that, the detail on the shield, particularly the yellow bits at front are also put into life using stickers but I evaded the use of stickers by using paint. I tried this on my MG Mk-II and it went well as it was fairly easy but not on this one.


So I tried doing the same for this one and it did not turn out that well. There were excess paint outside the desired areas and even affected the inside of the shield. This is due to the tape I used. I used magic tape instead of using masking tape as I cannot find any masking tape around. 😦


But it is not that of a big matter, really. What I did was pop out a small, super-duper fine sand paper and removed the excess paint. Tada~! It looked better. :)) It was sent for coating as well. 🙂


Now, just to be sure that the Matte coating will not affect the clear parts, I removed the camera/lighting clear parts on the chest and for the head camera and eyes, I dismantled it and covered them with tape. Simple! I reassembled them back, no need to bring them into position properly as you will not be able to do that due to the tape. Coat!


So just to be sure that the clear parts were not affected, I brought out a light to check. Since it is shiny and crystal-clear, then the covering technique worked. I dismantled the head again, removed the tape, and reassembled the head properly and tightly.
 That is what I have done so far. I forgot my pen for panel-lining at the office so all that the Gundam got for now in terms of the detail was the coating. xD I will post a second time with the Gundam done with stickers and panel lines. 😀


Recent Comments