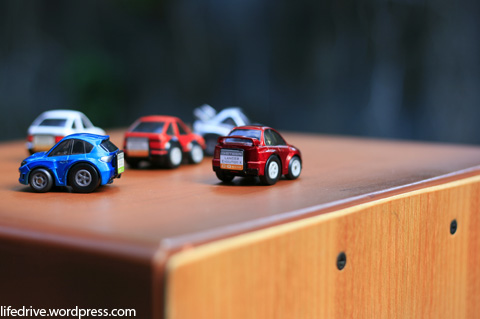
 This is only a small modification so I won’t be posting this together with the other tutorials. This is just painting the diffusers of the cars I have and only two popped out with obvious diffusers namely the Evo X and Impreza.
I was looking at these cars when I noticed that the whole car is red or blue for the scooby. I wanted to put some detail on the cars. I wished to start on the panel lines but I dont have a fine marker, 0.1 mm point to be exact. So I went to another part and I noticed the diffusers. I took both cars and took some shots before they were modified:
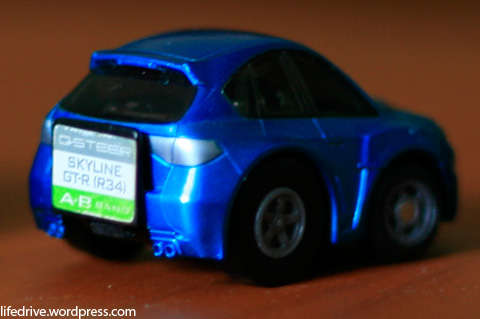
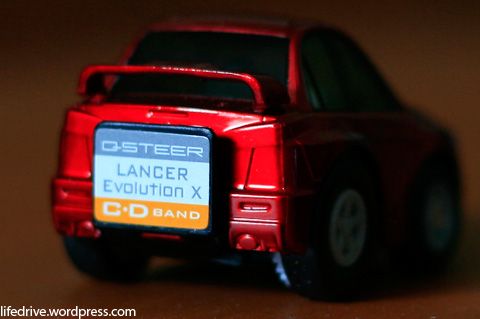 So, you can see the diffuser at the pictures. For those who don’t know, diffusers are seen under the car’s bumper to improve the air flow underneath the car, thus making it improve the aerodynamics. Though it’s not used as an aerodynamic component for Q-steer. 😀 So to get them look like diffusers which is usually dark and not shiny, I used these:
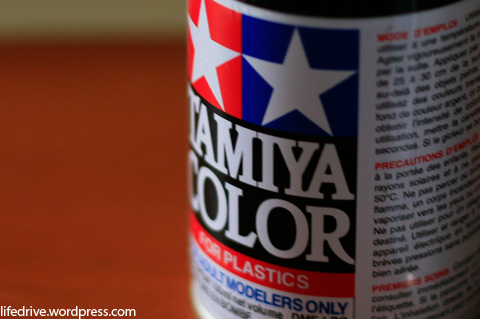
 A Black plastic paint can from Tamiya and Flat Finish from Mr. Hobby! The black paint, of course, will color the diffuser black and the Flat Finish will make the diffuser not shiny or have a matte surface.
But before I get happy spraying stuff, I needed to cover the parts that do not need painting. I used one of the hidden hobby masking tapes at the house and I find them more effective than conventional masking tapes that you can buy in bookstores.
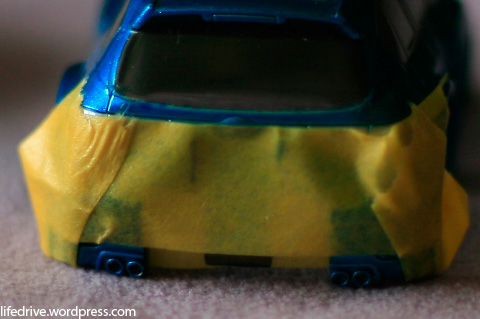
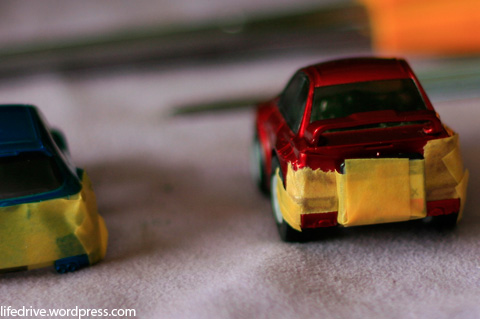
It’s not enough to just cover the places around the diffuser or else it will have the whole body a different color. It is also not ideal to use masking tape all over so what I did:
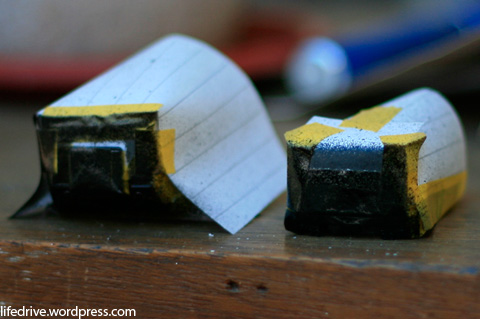 I taped the cars with small pieces of paper. 😀 After checking the predictions of not painting other parts of the body, I started spraying some paint. Really scary, though. You can’t tell if the paint only goes to the parts you want it to go. After drying the paint for a few moments, I sprayed the Flat Coating and this is how it turned out:
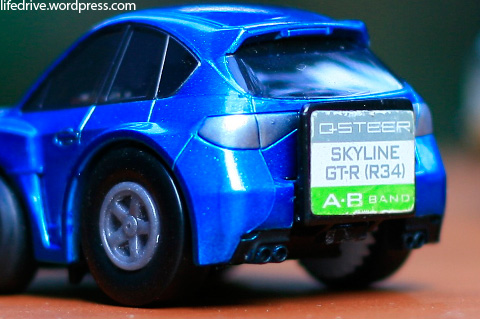
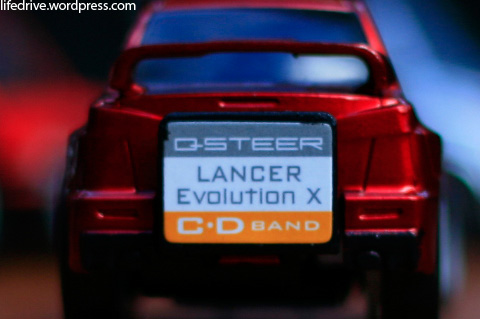 Tada! Now the diffusers look realistic! Heheheh~! There you go!
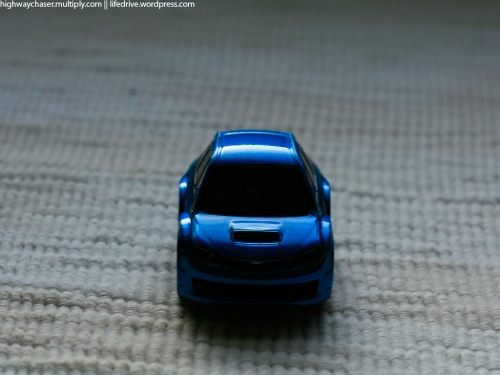
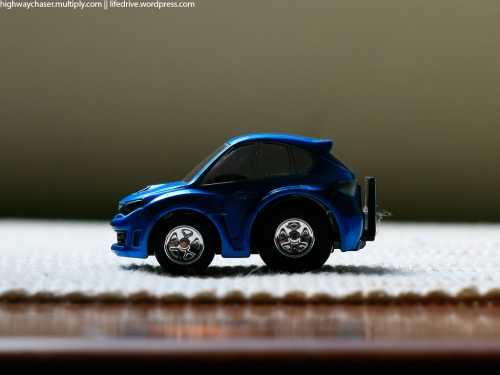 This is how the car looked like before I converted it for Q-steer use. I didn’t had the chance to perform the conversion immediately since I have a lot of requirements to finish back at school.
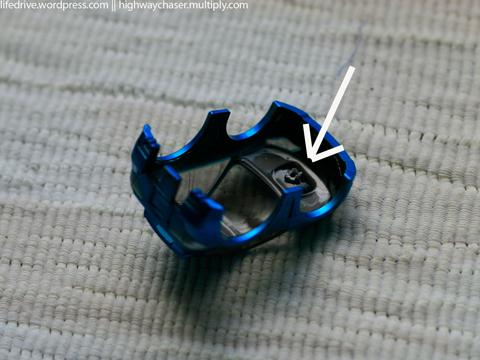 First, I need to get rid of the screw area of the body by cutting it off, just like my Evo 7. However, the screw area is really tough that when I forced a small part to be removed, the whole half of the screw area went off. I was scared because I thought the hood will be affected but good thing it was not affected. 😀
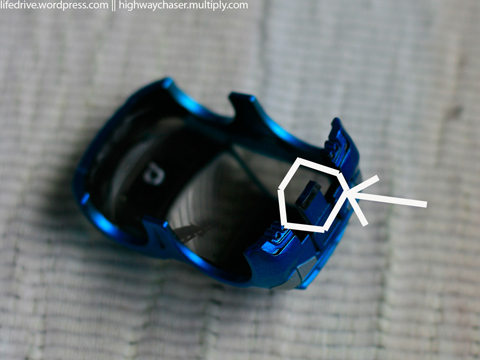 Second move was to make sure the rear lock would fit nicely so I filed the lock at the rear. Eventually, I got bored and used a Swiss knife to trim the part.
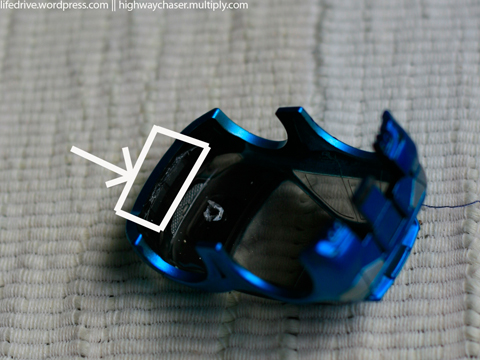 Last but not the least, I had to open up a space for the front mount. 😀 It was tiring since I’m using a partially damaged knife, used for Gundam models. 😀 but with a bit of effort, tada!
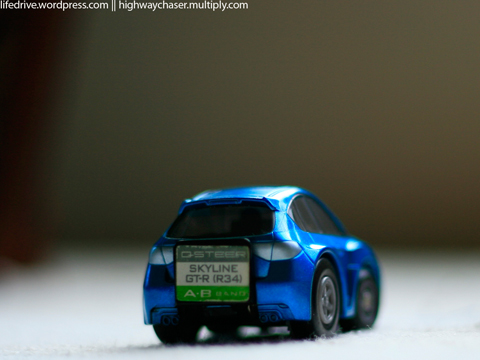 I posted the conversion gallery for this particular body and the link can be found at the Hangar section. Cheers~!


Recent Comments