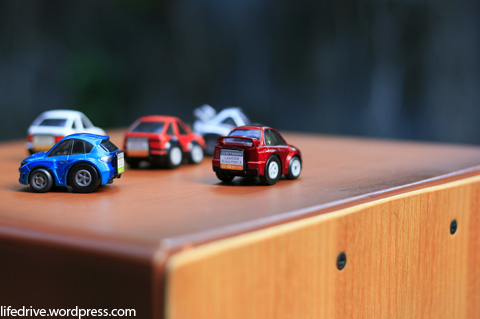
 This is only a small modification so I won’t be posting this together with the other tutorials. This is just painting the diffusers of the cars I have and only two popped out with obvious diffusers namely the Evo X and Impreza.
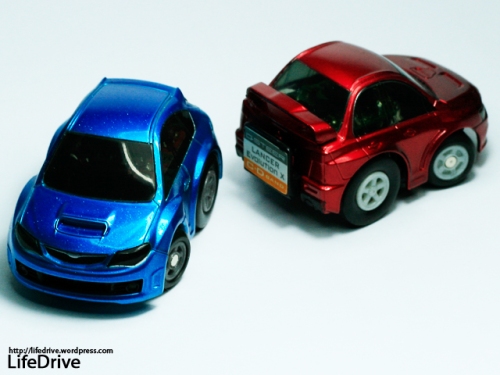
I was looking at these cars when I noticed that the whole car is red or blue for the scooby. I wanted to put some detail on the cars. I wished to start on the panel lines but I dont have a fine marker, 0.1 mm point to be exact. So I went to another part and I noticed the diffusers. I took both cars and took some shots before they were modified:
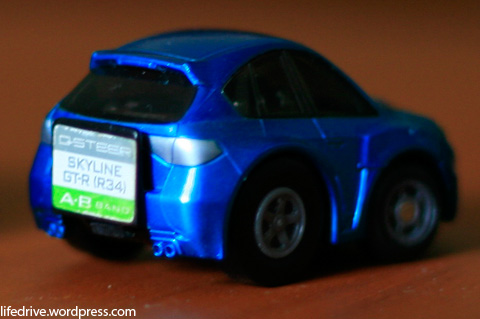
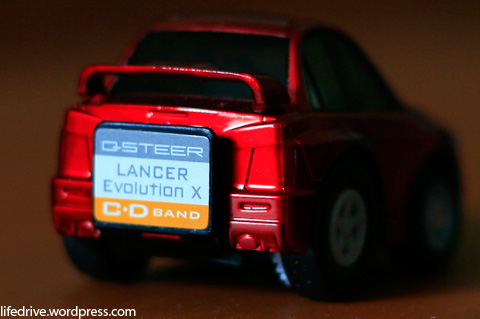 So, you can see the diffuser at the pictures. For those who don’t know, diffusers are seen under the car’s bumper to improve the air flow underneath the car, thus making it improve the aerodynamics. Though it’s not used as an aerodynamic component for Q-steer. 😀 So to get them look like diffusers which is usually dark and not shiny, I used these:
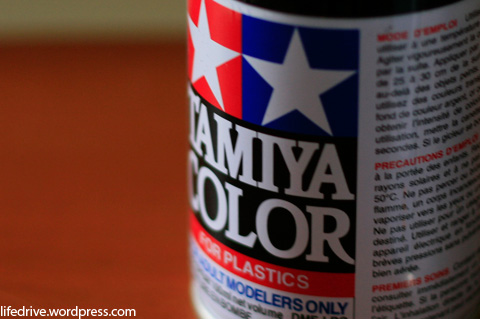
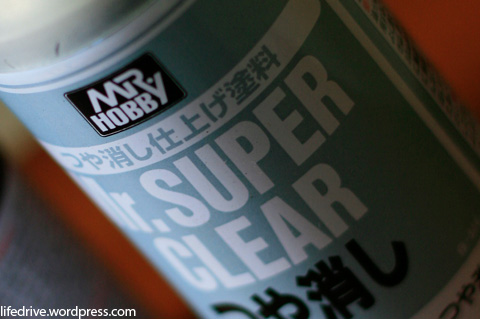 A Black plastic paint can from Tamiya and Flat Finish from Mr. Hobby! The black paint, of course, will color the diffuser black and the Flat Finish will make the diffuser not shiny or have a matte surface.
But before I get happy spraying stuff, I needed to cover the parts that do not need painting. I used one of the hidden hobby masking tapes at the house and I find them more effective than conventional masking tapes that you can buy in bookstores.
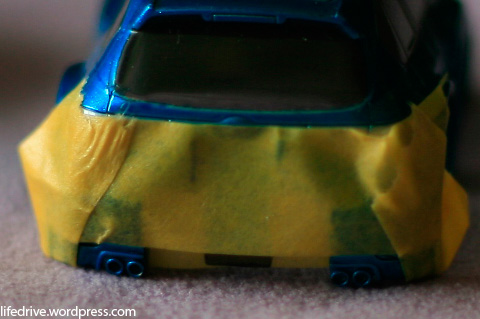
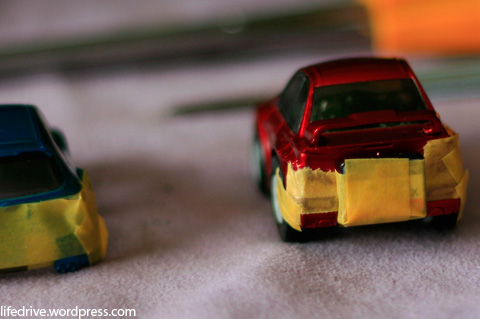
It’s not enough to just cover the places around the diffuser or else it will have the whole body a different color. It is also not ideal to use masking tape all over so what I did:
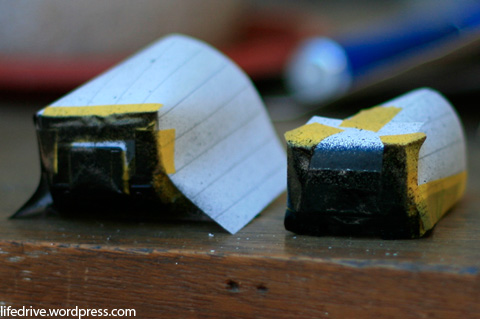 I taped the cars with small pieces of paper. 😀 After checking the predictions of not painting other parts of the body, I started spraying some paint. Really scary, though. You can’t tell if the paint only goes to the parts you want it to go. After drying the paint for a few moments, I sprayed the Flat Coating and this is how it turned out:
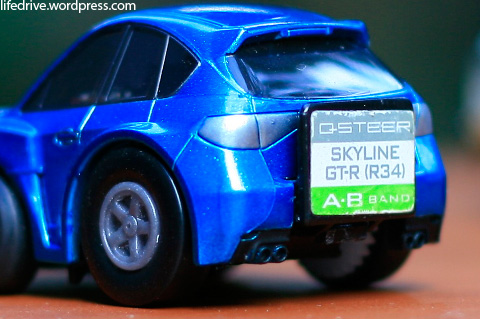
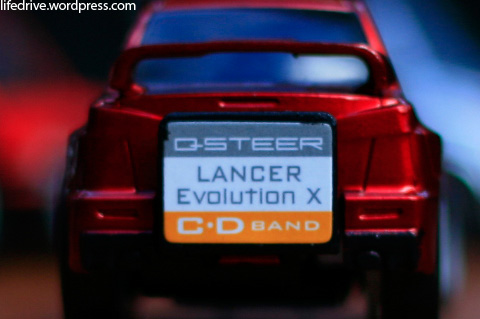 Tada! Now the diffusers look realistic! Heheheh~! There you go!
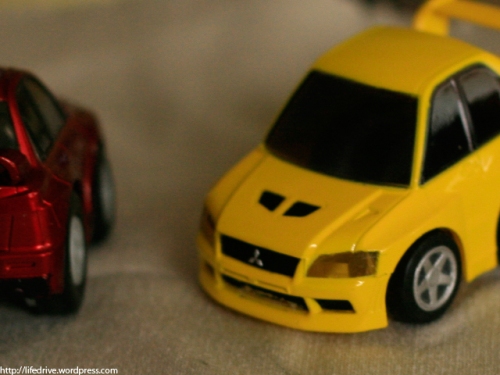 This is just a light modification so I won’t let it have a major page on my blog. 😀 Here’s how the car looked after the mod.
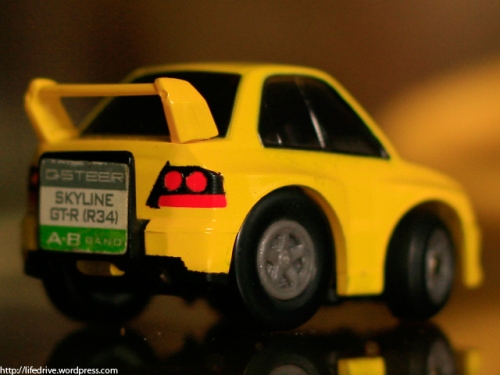 Yep, I modified the back with several paint jobs to make it look like it sports a small diffuser and spoiler as well as the tail lights look like evo 9’s.


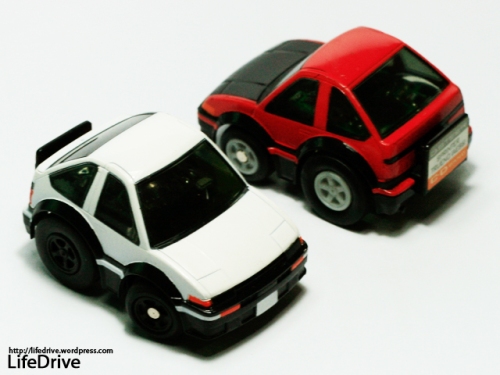
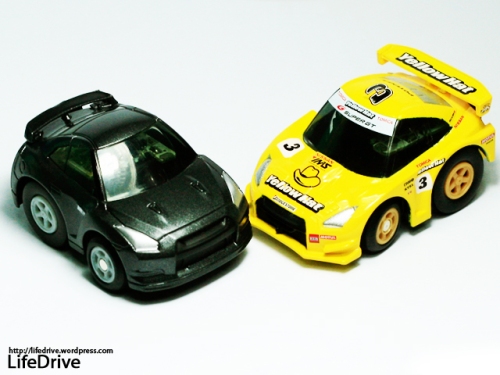
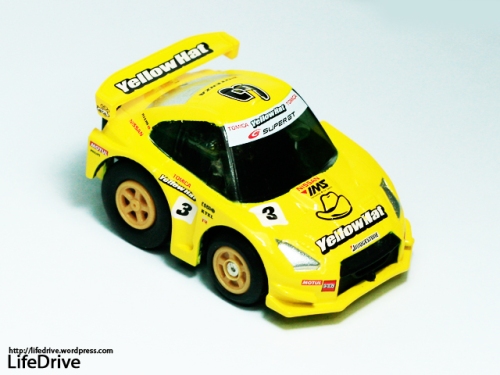
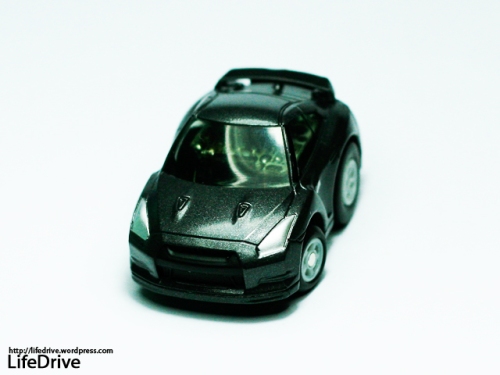
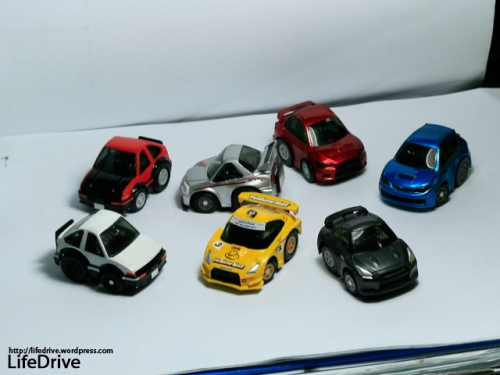 I’ve been crazy about the silly light box but even though there are tutorials about its simple construction, I cannot put my money into it. I do have the camera and the light but not the peripherals to concentrate the light to the subject. 😀 However, I received a brighter lamp and tested this kind of photoshoot using scratch papers. 😀 The result is a semi-dark or a bit underexposed despite setting the camera to Aperture-priority and then setting the exposure to +1. The resulting photos were bluish since it’s dark time already and the only thing lighting up the subjects is the bright study lamp. Despite these instances, I brought up another paper facing the camera side to focus the light to the center. After shooting the pictures, I edited them using Adobe Photoshop, adjusting the color balance, brightness and contrast. Here are the results:


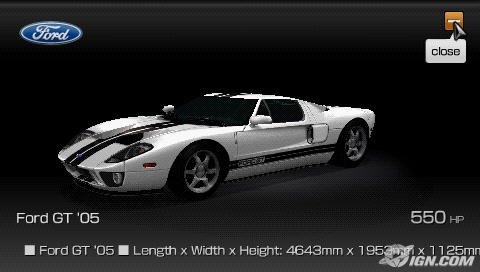 There will be, according to Polyphony, more than 800 cars in the game, 35 tracks with 60 layout variations…
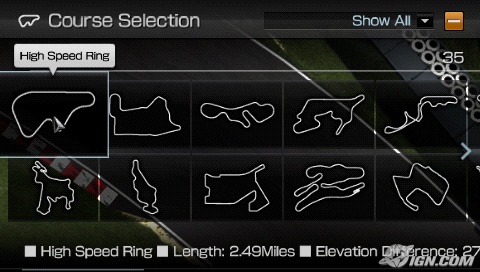 I do hope they have the Nurburgring here. 😀
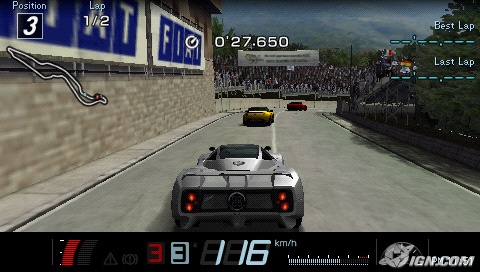 this is the view when playing the game. 😀 I saw a footage of the gameplay and it was sooo GT4-ish or GT-5-ish in handling physics. 😀 So nice. Not bad for a limited characteristic game console, the PSP. They were able to squeeze out proper graphics for this game. 😀


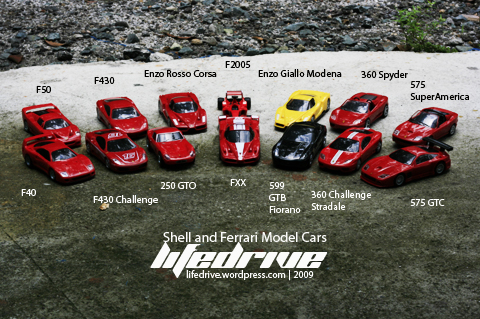 Yup, I have them all~! Here’s the new set of model cars recently released by Shell. 😀
 This is only a small modification so I won’t be posting this together with the other tutorials. This is just painting the diffusers of the cars I have and only two popped out with obvious diffusers namely the Evo X and Impreza.
 So, you can see the diffuser at the pictures. For those who don’t know, diffusers are seen under the car’s bumper to improve the air flow underneath the car, thus making it improve the aerodynamics. Though it’s not used as an aerodynamic component for Q-steer. 😀 So to get them look like diffusers which is usually dark and not shiny, I used these:
 A Black plastic paint can from Tamiya and Flat Finish from Mr. Hobby! The black paint, of course, will color the diffuser black and the Flat Finish will make the diffuser not shiny or have a matte surface.

 I taped the cars with small pieces of paper. 😀 After checking the predictions of not painting other parts of the body, I started spraying some paint. Really scary, though. You can’t tell if the paint only goes to the parts you want it to go. After drying the paint for a few moments, I sprayed the Flat Coating and this is how it turned out:
 Tada! Now the diffusers look realistic! Heheheh~! There you go!
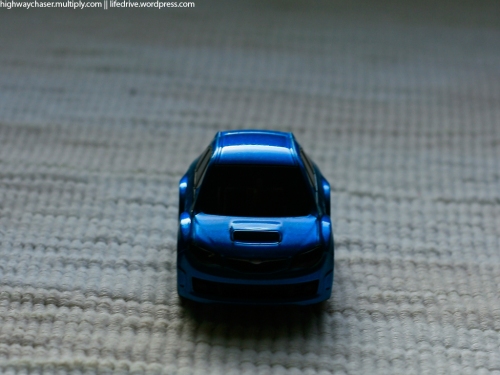
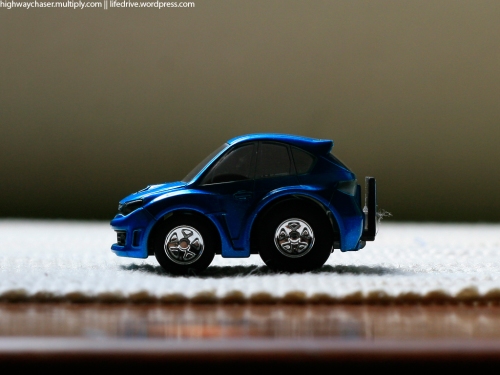 This is how the car looked like before I converted it for Q-steer use. I didn’t had the chance to perform the conversion immediately since I have a lot of requirements to finish back at school.
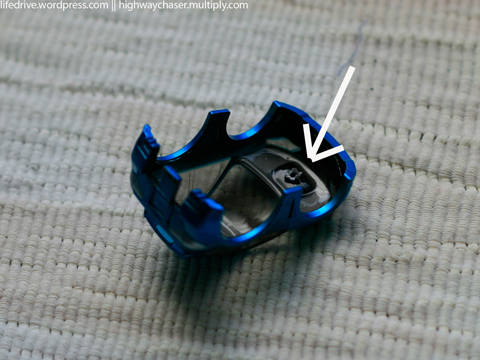 First, I need to get rid of the screw area of the body by cutting it off, just like my Evo 7. However, the screw area is really tough that when I forced a small part to be removed, the whole half of the screw area went off. I was scared because I thought the hood will be affected but good thing it was not affected. 😀
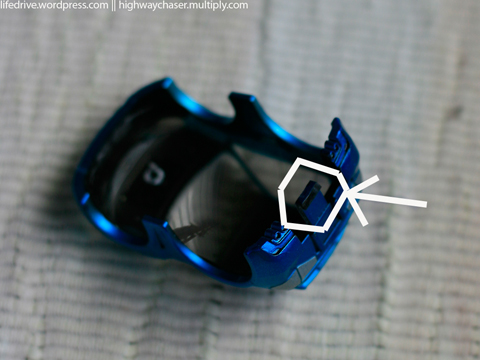 Second move was to make sure the rear lock would fit nicely so I filed the lock at the rear. Eventually, I got bored and used a Swiss knife to trim the part.
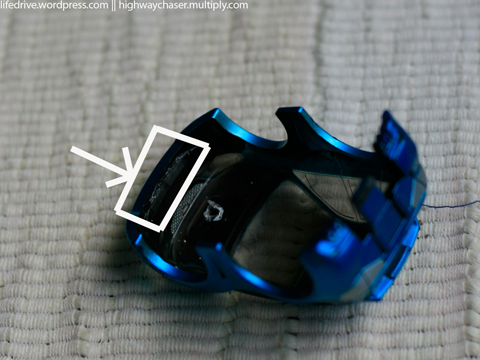 Last but not the least, I had to open up a space for the front mount. 😀 It was tiring since I’m using a partially damaged knife, used for Gundam models. 😀 but with a bit of effort, tada!
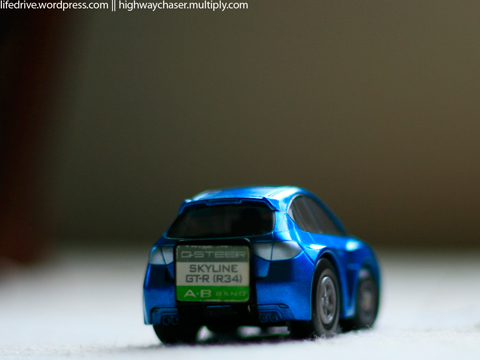 I posted the conversion gallery for this particular body and the link can be found at the Hangar section. Cheers~!
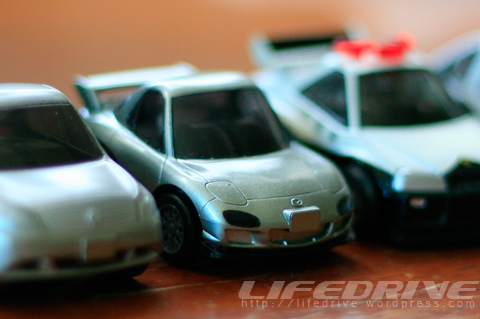 I am still thinking about how am I going to mount this complicated body onto the Q-steer chassis, For one thing, see that front spoiler/ front skirt? That’s not with the body but with the Choro-Q chassis and there’s also a lot of space in front which means it might not hit the Q-steer chassis front mount since the body’s front side is too far from it.
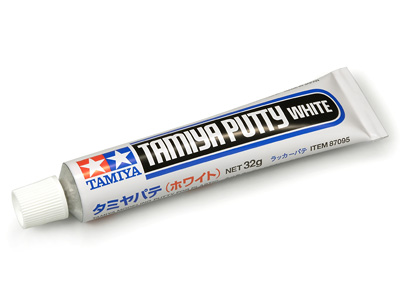
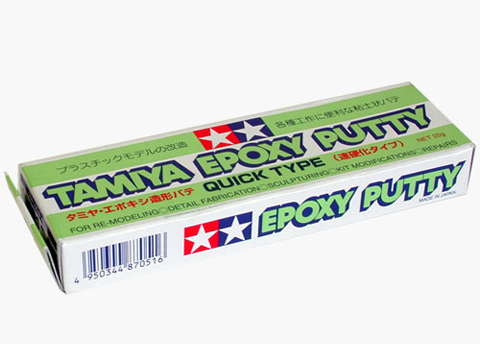 Tamiiya’s Epoxy Putty and Putty White. The epoxy putty it the one I’m going to use for creating the mount for the RX-7 and the White Putty is for finishing touches. I can also make my own bodykits which can be snapped on but that’s kind of too much for now. I’ll see how the project goes and then I’ll modify my own bodykits. (I will get another RX-7 and make it look like Keisuke’s RX-7!! hahahahah!)
Recent Comments